Happy Fall Y’all! The fall season is such an exciting and cozy time, so here are some ideas to help you get your kiddos into the fall spirit!
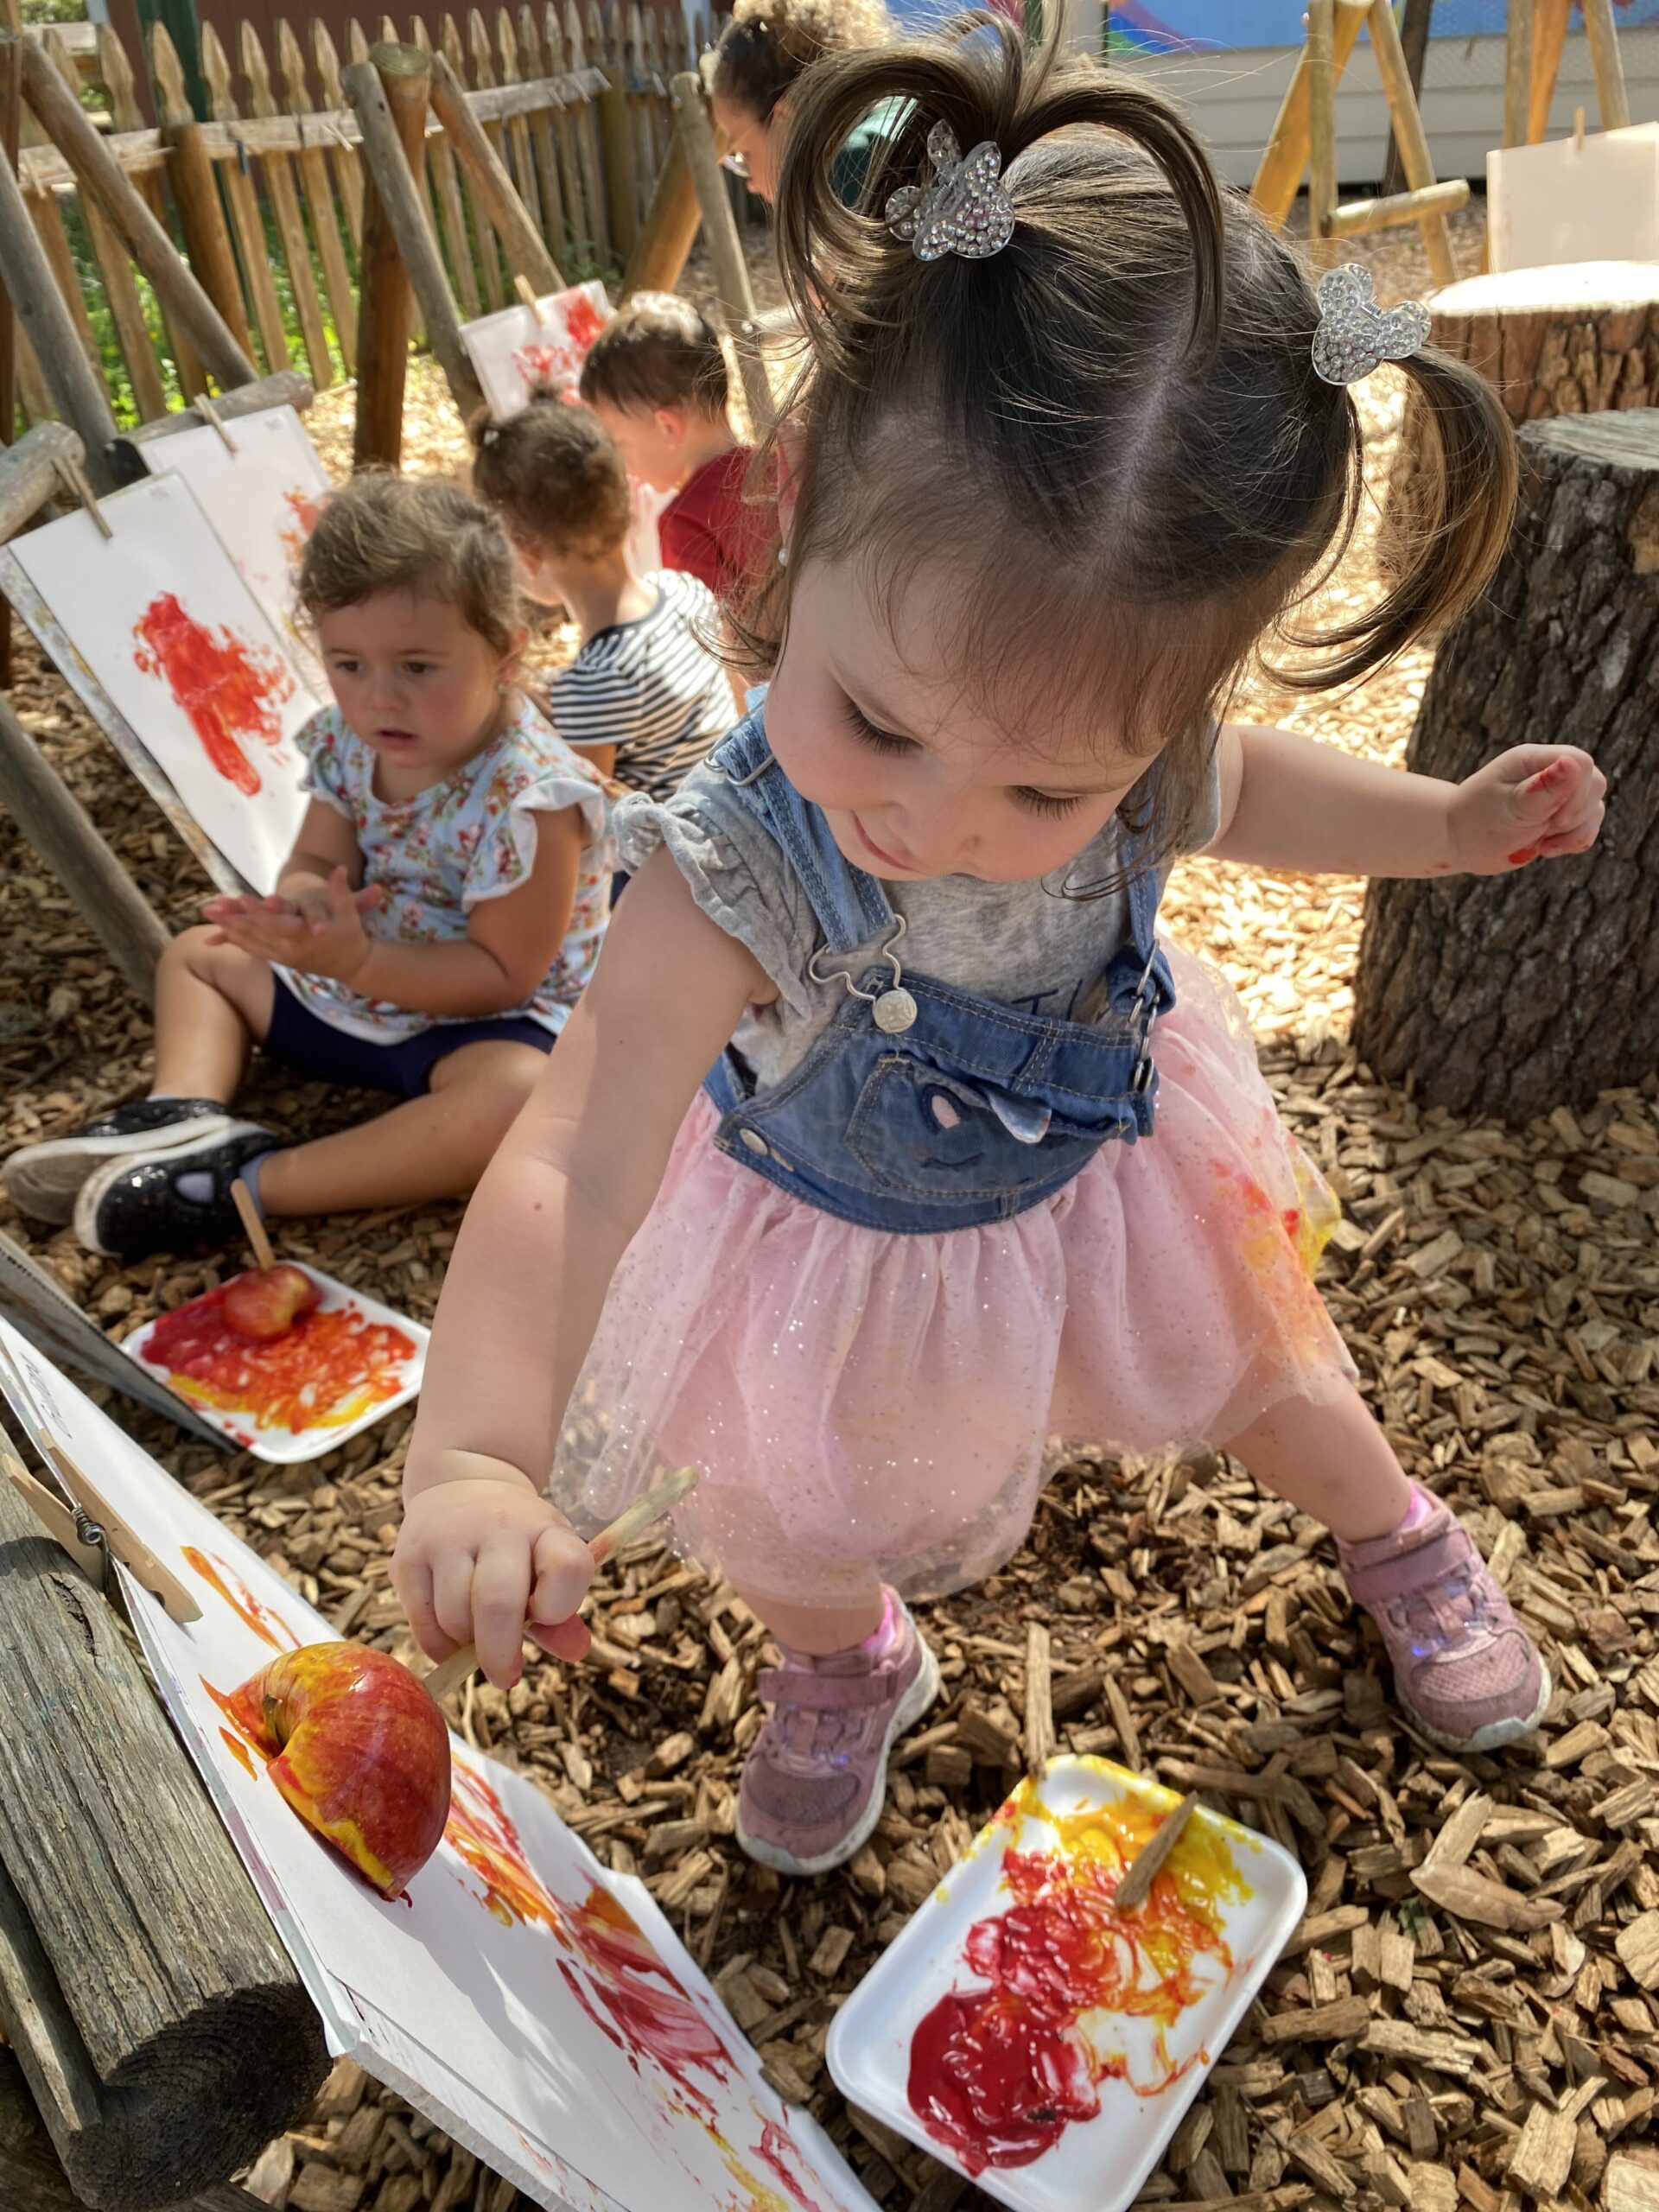
- Apple Stamping – Such a simple and fun activity, that will leave you with some really neat art paintings! First, you can introduce how apples grow, the different colors apples can come in and how apple picking is a popular fall activity, especially up north! Then grab a couple of apples and some fall colored paint (or any color paint of your choosing), cut the apples in half, dip them in the paint, and have your child start stamping onto their paper! For the little kiddos, you can put a popsicle stick or plastic fork into the halved-apple, to make grabbing the apple and stamping easier. What a fun activity for children of all ages!
- Leaf Rubbing – The perfect introduction to the fall season! Start out by discussing how leaves fall off the trees, indicating fall in near, hence the name of the season! Go on a quick nature walk or pop out to your backyard and collect some leaves and maybe some other flat nature items. Talk about what they look like, how they feel, etc., then grab some crayons and paper and create leaf and nature rubbings! This is a fun way to practice fine motor and coloring skills while learning about patterns in nature!
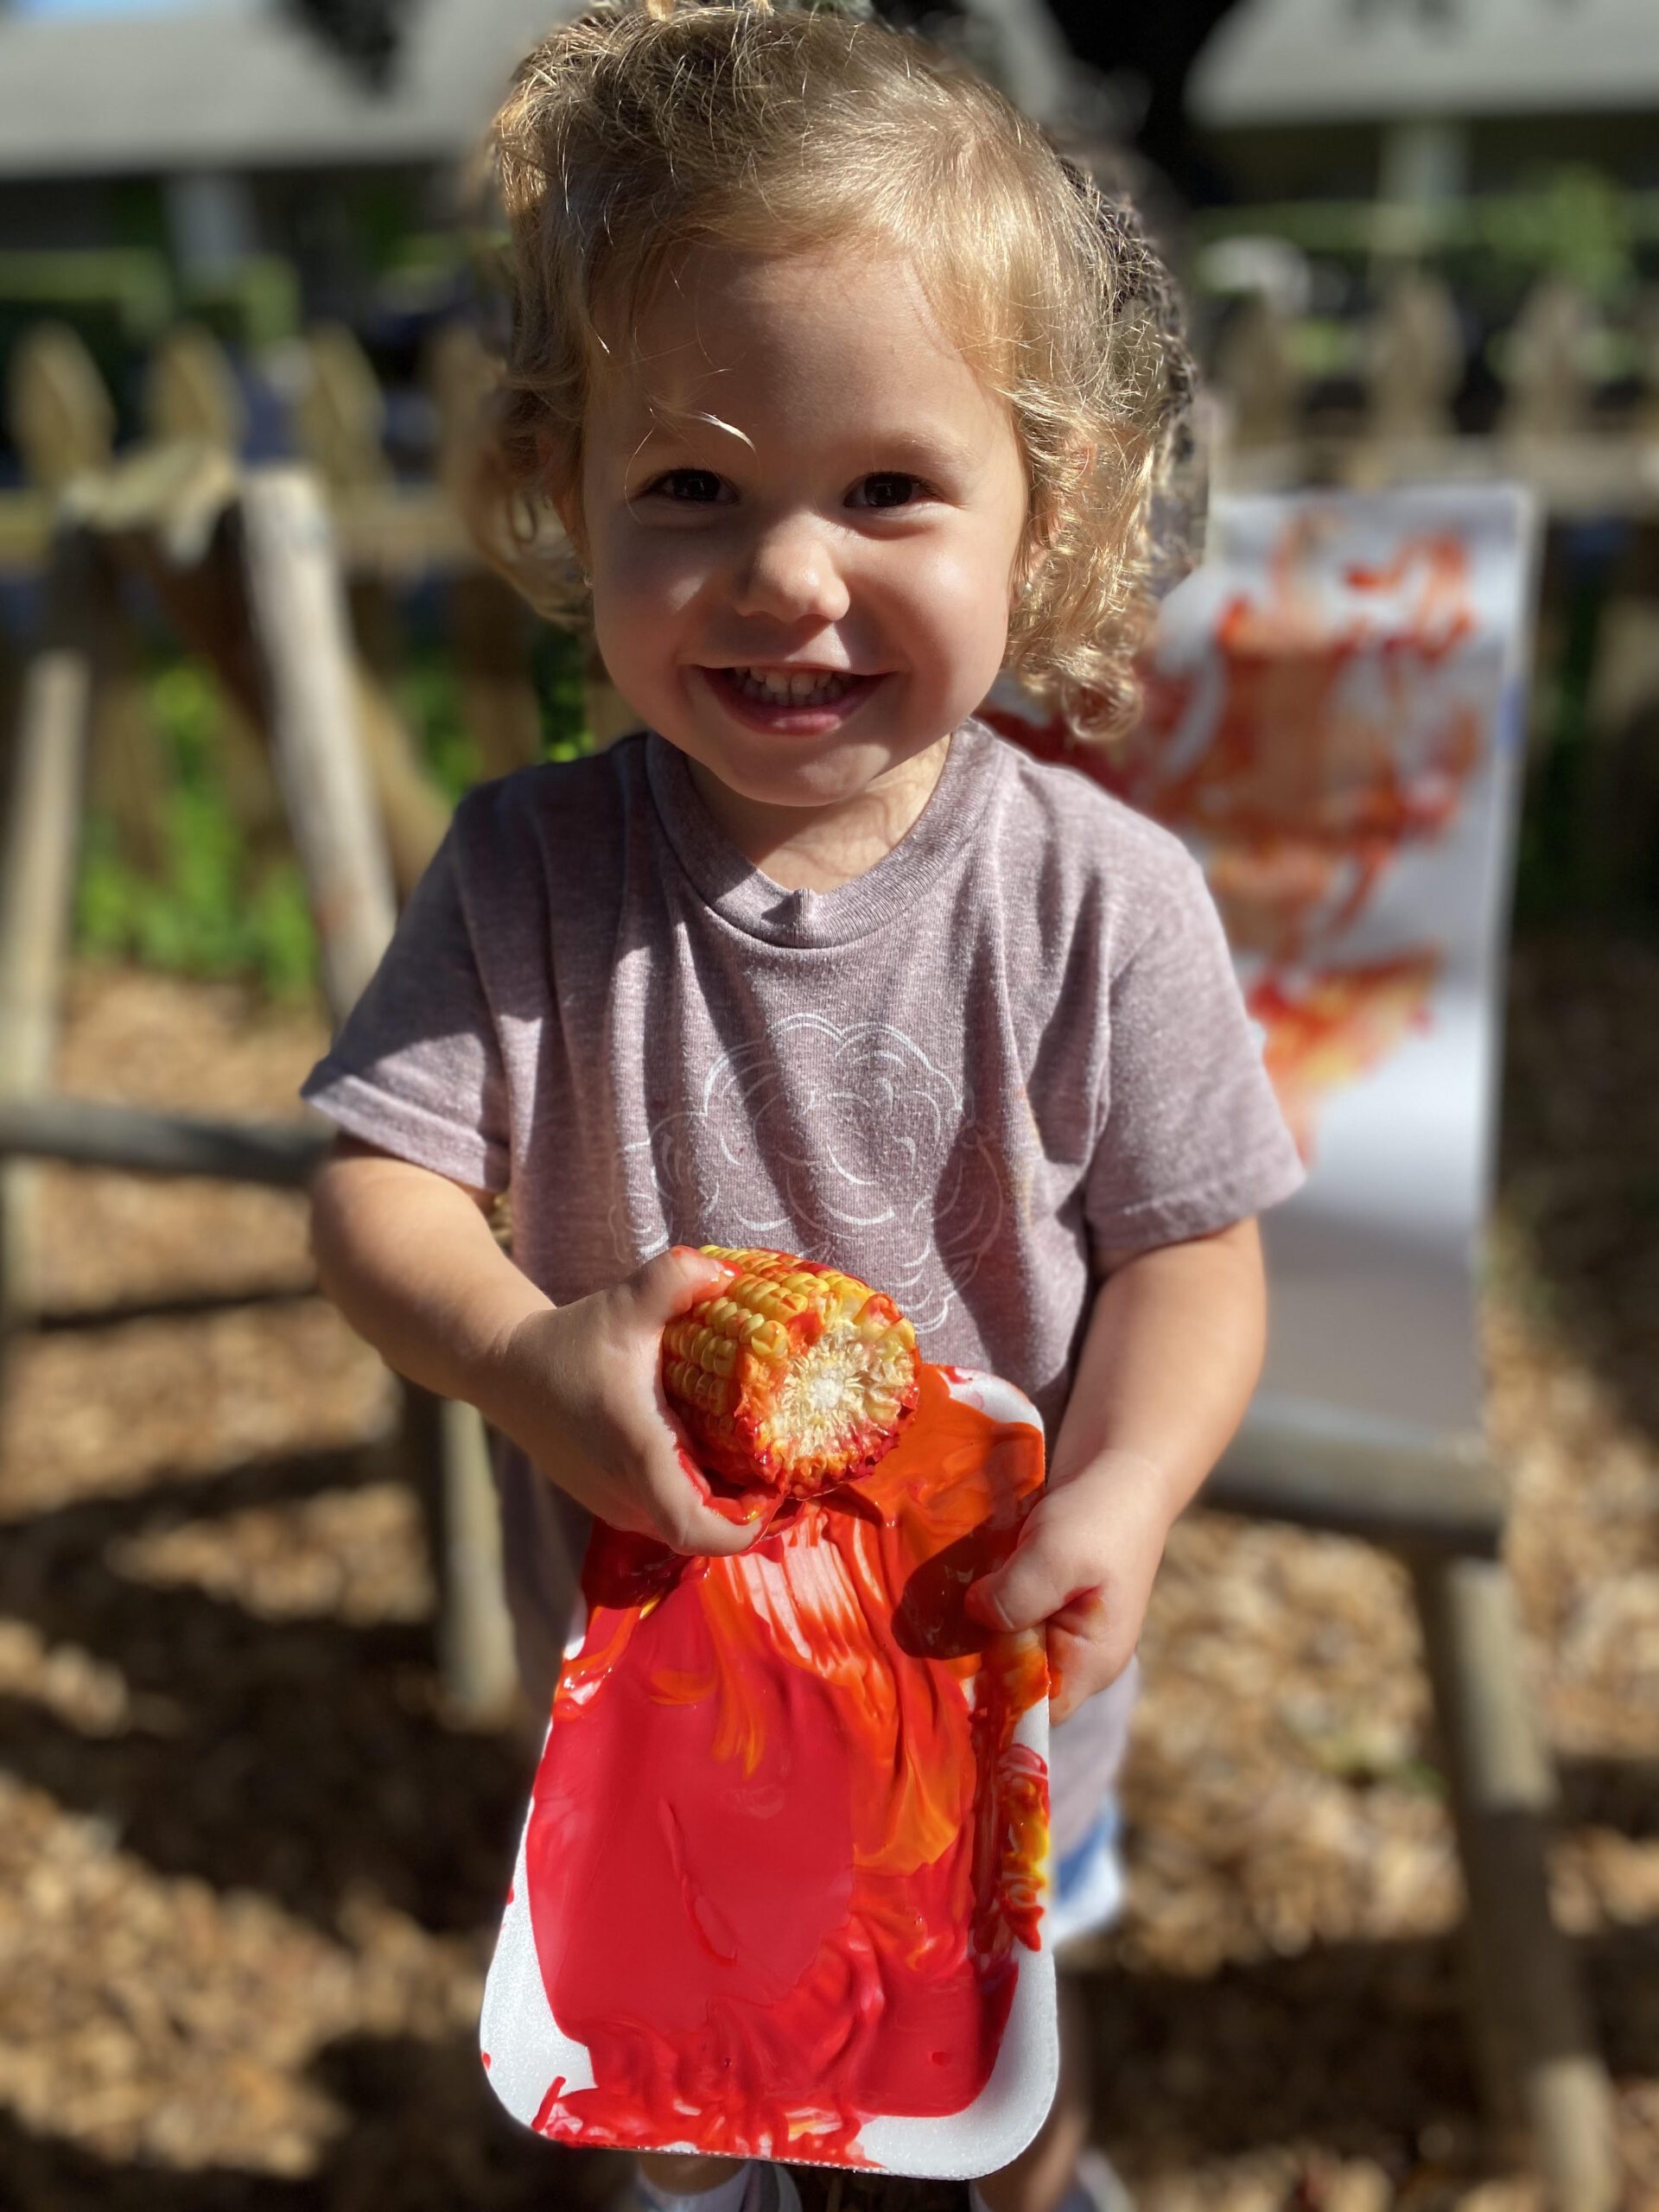
- Corn on the Cob Painting – Another fun food-related art project! You can purchase either fresh ears of corn or the frozen corn on the cob from the store. Both will work just fine! Discuss how corn is harvested and how it is used quite a bit in the fall season, as decoration and as food! Again, you’ll grab some paint, either fall colors or whatever colors you might have at home and start painting! You can have your child roll the corn into the paint then onto their paper. They can also stamp the corn to see what kind of pattern it will make. Whichever way they decide, it’ll make a really unique painting! You could also do the corn and apple stamping on the same paper and talk about the difference in shape and pattern as well as texture and color mixing! The possibilities are endless!
- Leaf Chromatography – How do leaves get their color? Find out with this experiment! First, collect some leaves, preferably ones that are various colors. Then have your child practice their tearing skills by ripping the leaves into tiny pieces. Add each torn leaf to a separate cup and add rubbing alcohol to cover the leaf pieces. Wait a couple of hours and see what happens! The rubbing alcohol in the cup should have changed colors! This shows the different colors leaves are made of. To extend this experiment, grab a couple of coffee filters and allow them to absorb the colored rubbing alcohol from each cup. Then observe the coffee filters. You’ll most likely see a few different color lines, which shows what color the leaves will turn when the weather cools down. Such a neat and educationally rich experiment!
- Seed Exploration – Fall is all about harvesting, so this is a great way to introduce that concept to your kids. You can purchase bird seed or various types of seeds like beans, sunflower seeds, etc. and allow your children to explore with them in bowls or large bins. Your kids can practice their scooping and pouring all the while learning about textures and the different shapes/colors that seeds come in. You can also discuss what seeds need to grow and how in the fall, farmers harvest their crops from the growing season! This will surely keep your kiddos entertained for a while!

- Pine Cone Painting – Pine cones are another staple to the fall season, so here’s an art project your kids will love! You can hunt for pine cones outside or purchase some from your local craft store. Grab some paint (and paintbrushes) and let those creative juices flow! You can have your child(ren) paint the actual pine cone or have them use it as a stamp just as we did with the apples and corn above. Another great way to practice their fine motor skills and create some personalized fall decor!
- Pumpkin Slime – This is sure to be a favorite in your household and don’t be afraid to get messy! First, take a small pumpkin, cut the top off and remove some of the pumpkin guts. You’ll want to leave some of the seeds/guts in the pumpkin, so it can be incorporated into your slime. Next, mix ½ cup water and ½ cup of clear glue in a bowl. Then, pour a ¼ cup of liquid starch directly into the pumpkin. Add the glue/water mixture to the pumpkin. Mix it well with either a spoon or your hands! The more you knead the slime, the better the consistency will be. Lastly, to keep the slime from sticking to your hands, add a few squirts of contact solution to your hands as well as the slime! Keep adding contact solution until you feel the stickiness has gone away. Allow your child(ren) to play with the pumpkin slime, counting the seeds, describing the texture and just having fun with it! It’s a different way to explore the inside of a pumpkin!
I hope you enjoy this fall season with your family and make lots of new discoveries with these fall activities!