Did you know that you can make learning moments happen everyday for your children? Did you also know that you probably have some, if not all, of the materials at home to do so? Don’t throw those pumpkins out or get rid of your Halloween candy because I have eight activities that you can do with your kids that will create lasting learning moments!
1. Pumpkin Volcano – Take all of your pumpkins, carved or not, and turn them into a fun science experiment I know your kids will enjoy. First, add baking soda and food coloring to the inside of your pumpkin. Make sure your pumpkin(s) are on a surface that can get dirty or put them in some sort of bin. Next, have your kids add vinegar to the pumpkin and watch as the reaction explodes out of the top of the pumpkin (or out of the mouth/nose/eyes if it’s carved!) Keep adding baking soda and vinegar to continue the reaction.
2. Pumpkin Decomposition – This activity can be done in a couple different ways. The first way is to pick a spot outside, preferably a spot in the dirt/soil, where your pumpkin can decompose on its own. Have your child check on the pumpkin everyday or every week and watch as the pumpkin slowly starts to decompose until the pumpkin is no longer visible and the seeds have gone into the ground. You can then start watering the pumpkin seeds in hopes that you can grow new pumpkins for next year! The second way is to cut a couple pieces off of your pumpkin and place them into different containers: a control, water, dirt and in the fridge. (If you have other materials you’d want your pumpkin to go into, try it out!) Again, have your child check on the different containers and see how the pumpkin is decomposing. You could also have them draw/write what they see each day to practice their fine motor and writing skills. Which material kept the pumpkin in its best condition? Which helped it decompose faster?
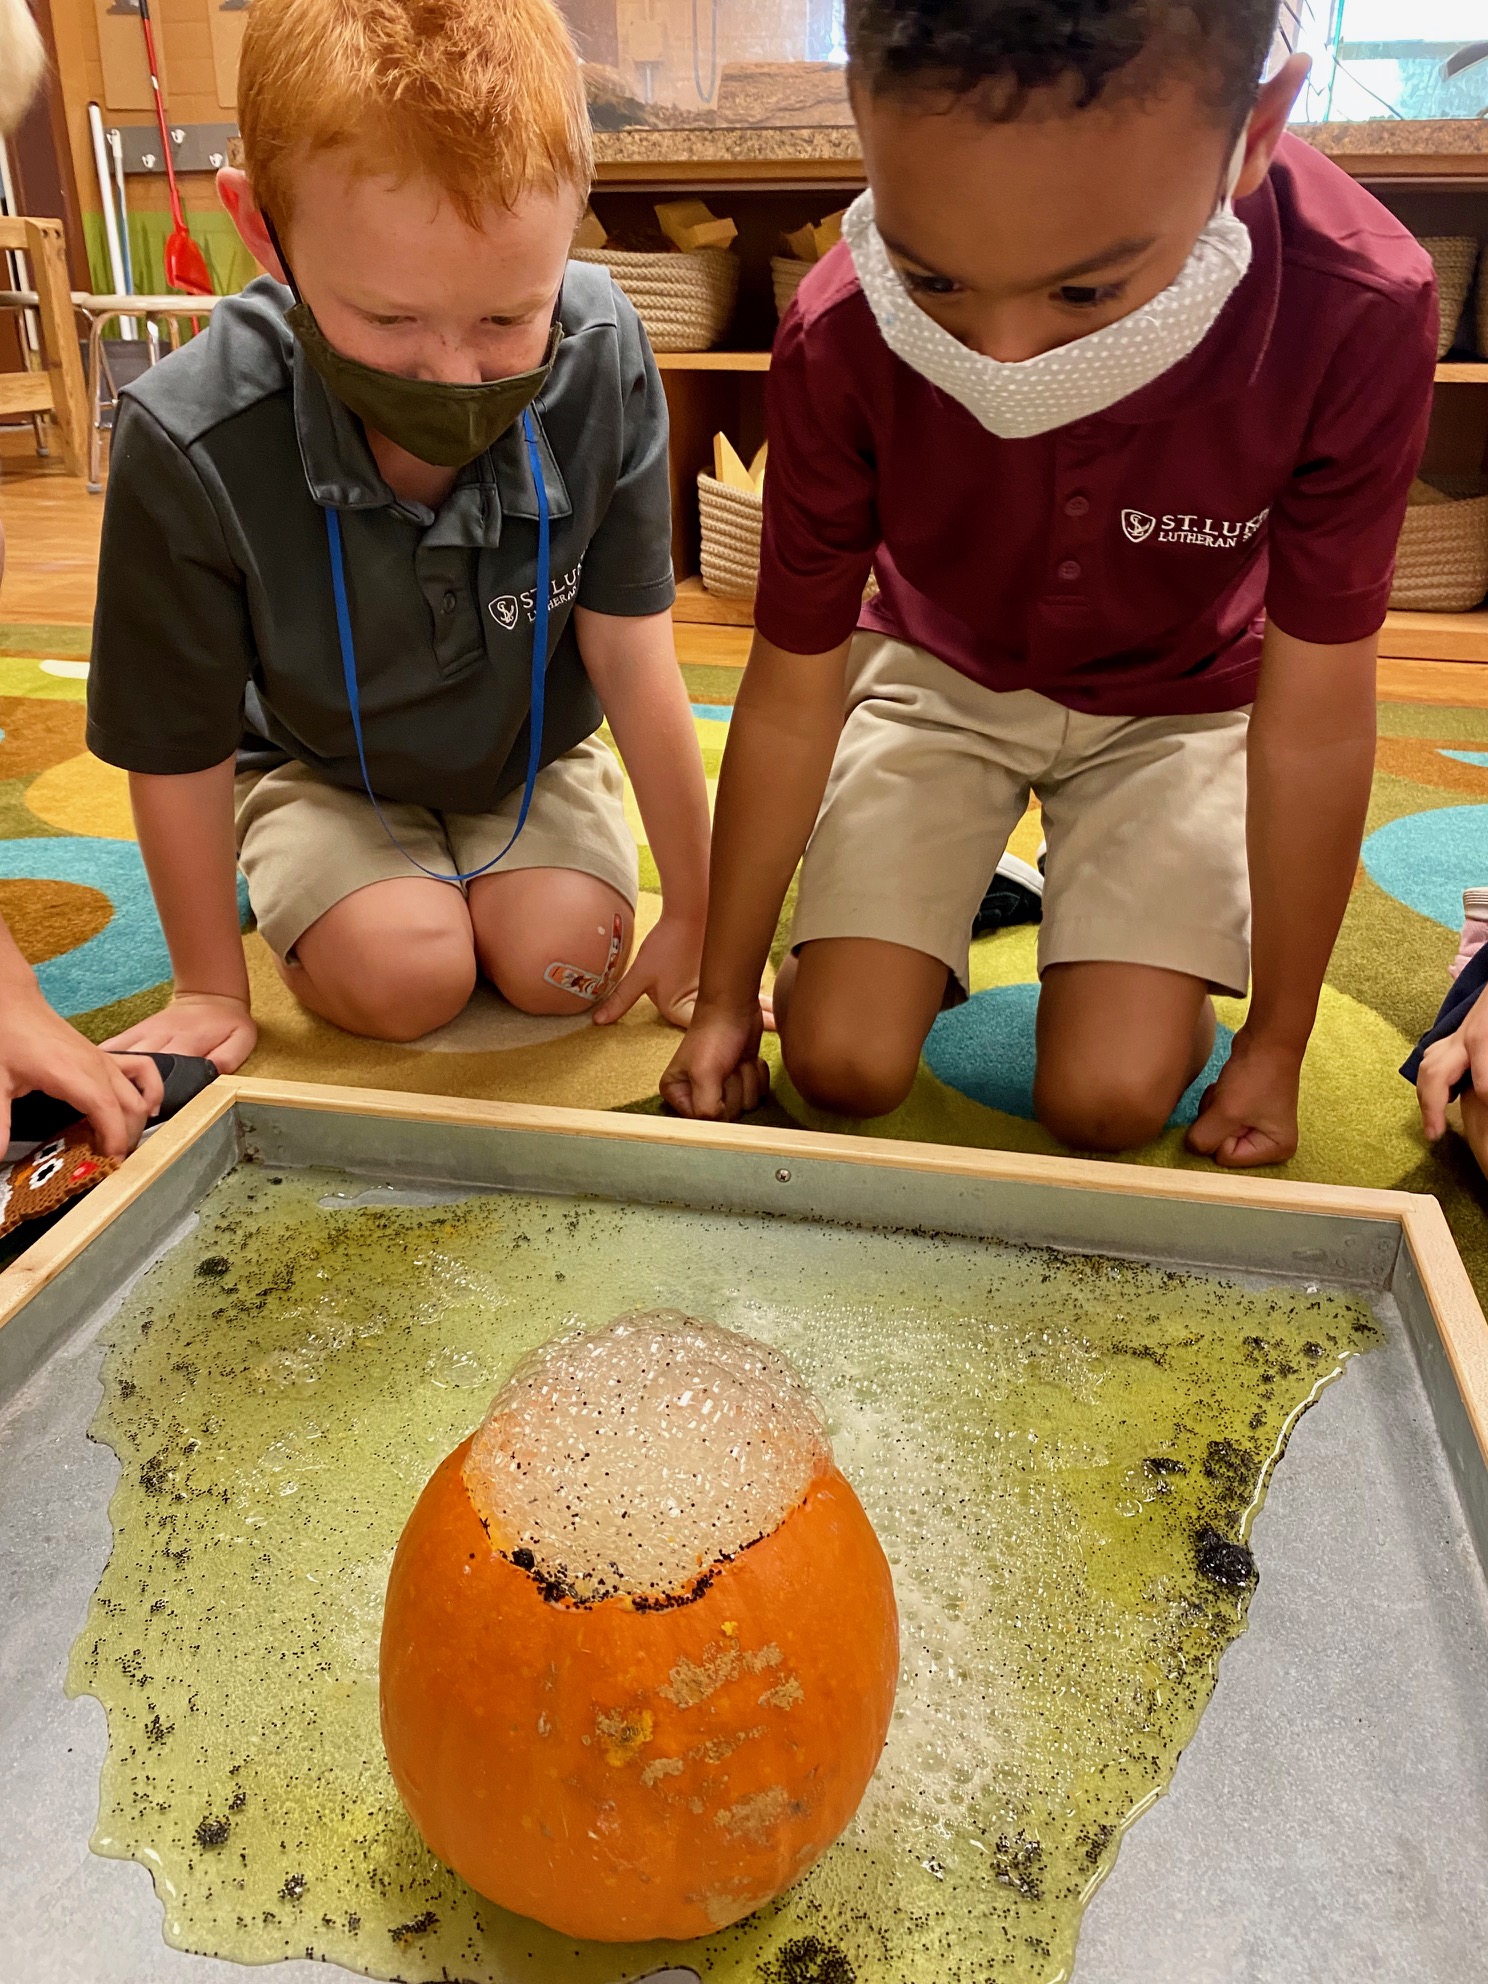
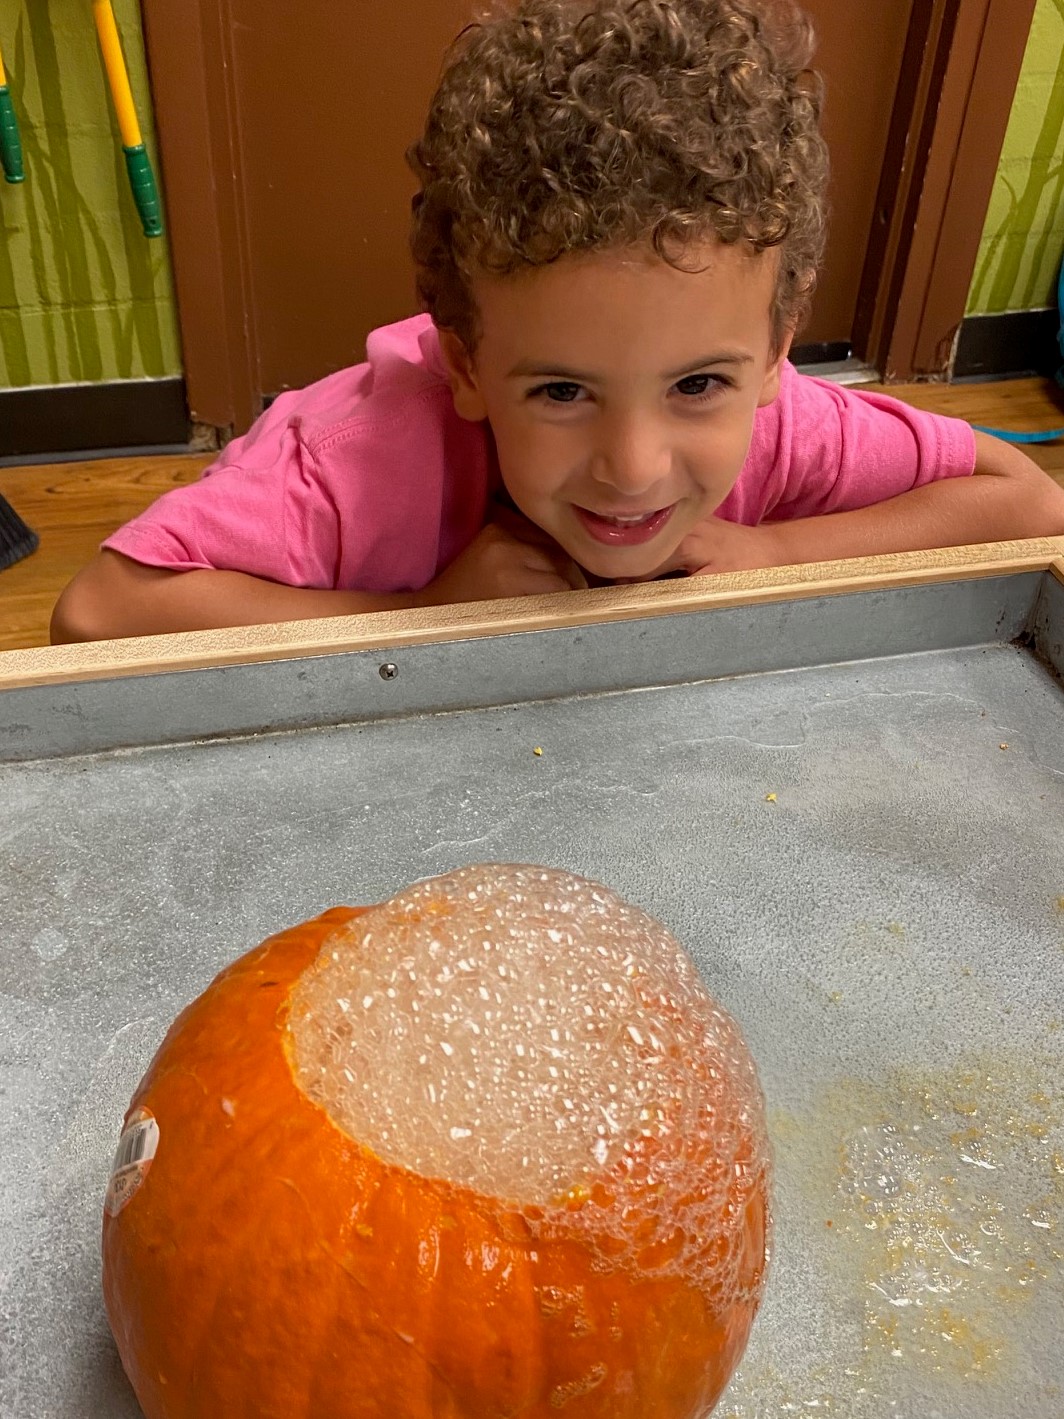
3. Bubble Science with Pumpkins – This is a simple, but very fun experiment! Add water and dish soap to your pumpkins and show your child how to blow bubbles inside with a straw! Watch as bubbles come exploding out of the pumpkin! They can use their hands to pop the bubbles or add more water/soap to continue the bubble making process. This is another activity where you’d want to put the pumpkin in a spot where it’s okay to get messy. You could also add food coloring to the water and see what fun colored bubbles your kiddos could make!
4. Pumpkin Geoboard – This is a great activity to work on those fine motor skills. Take your old pumpkins, preferably the ones that have not been carved, some nails or pins and rubber bands or string to create a geoboard on your pumpkin. I would prep this activity by already putting the nails/pins all over the pumpkin, with the top part of the nail sticking out. (If your child is old enough, they could do this step themselves with adult supervision.) Then give your child(ren) rubber bands or string and have then wrap them around the various nails/pins. They can create patterns, shapes, letters, numbers, whatever they can think of!
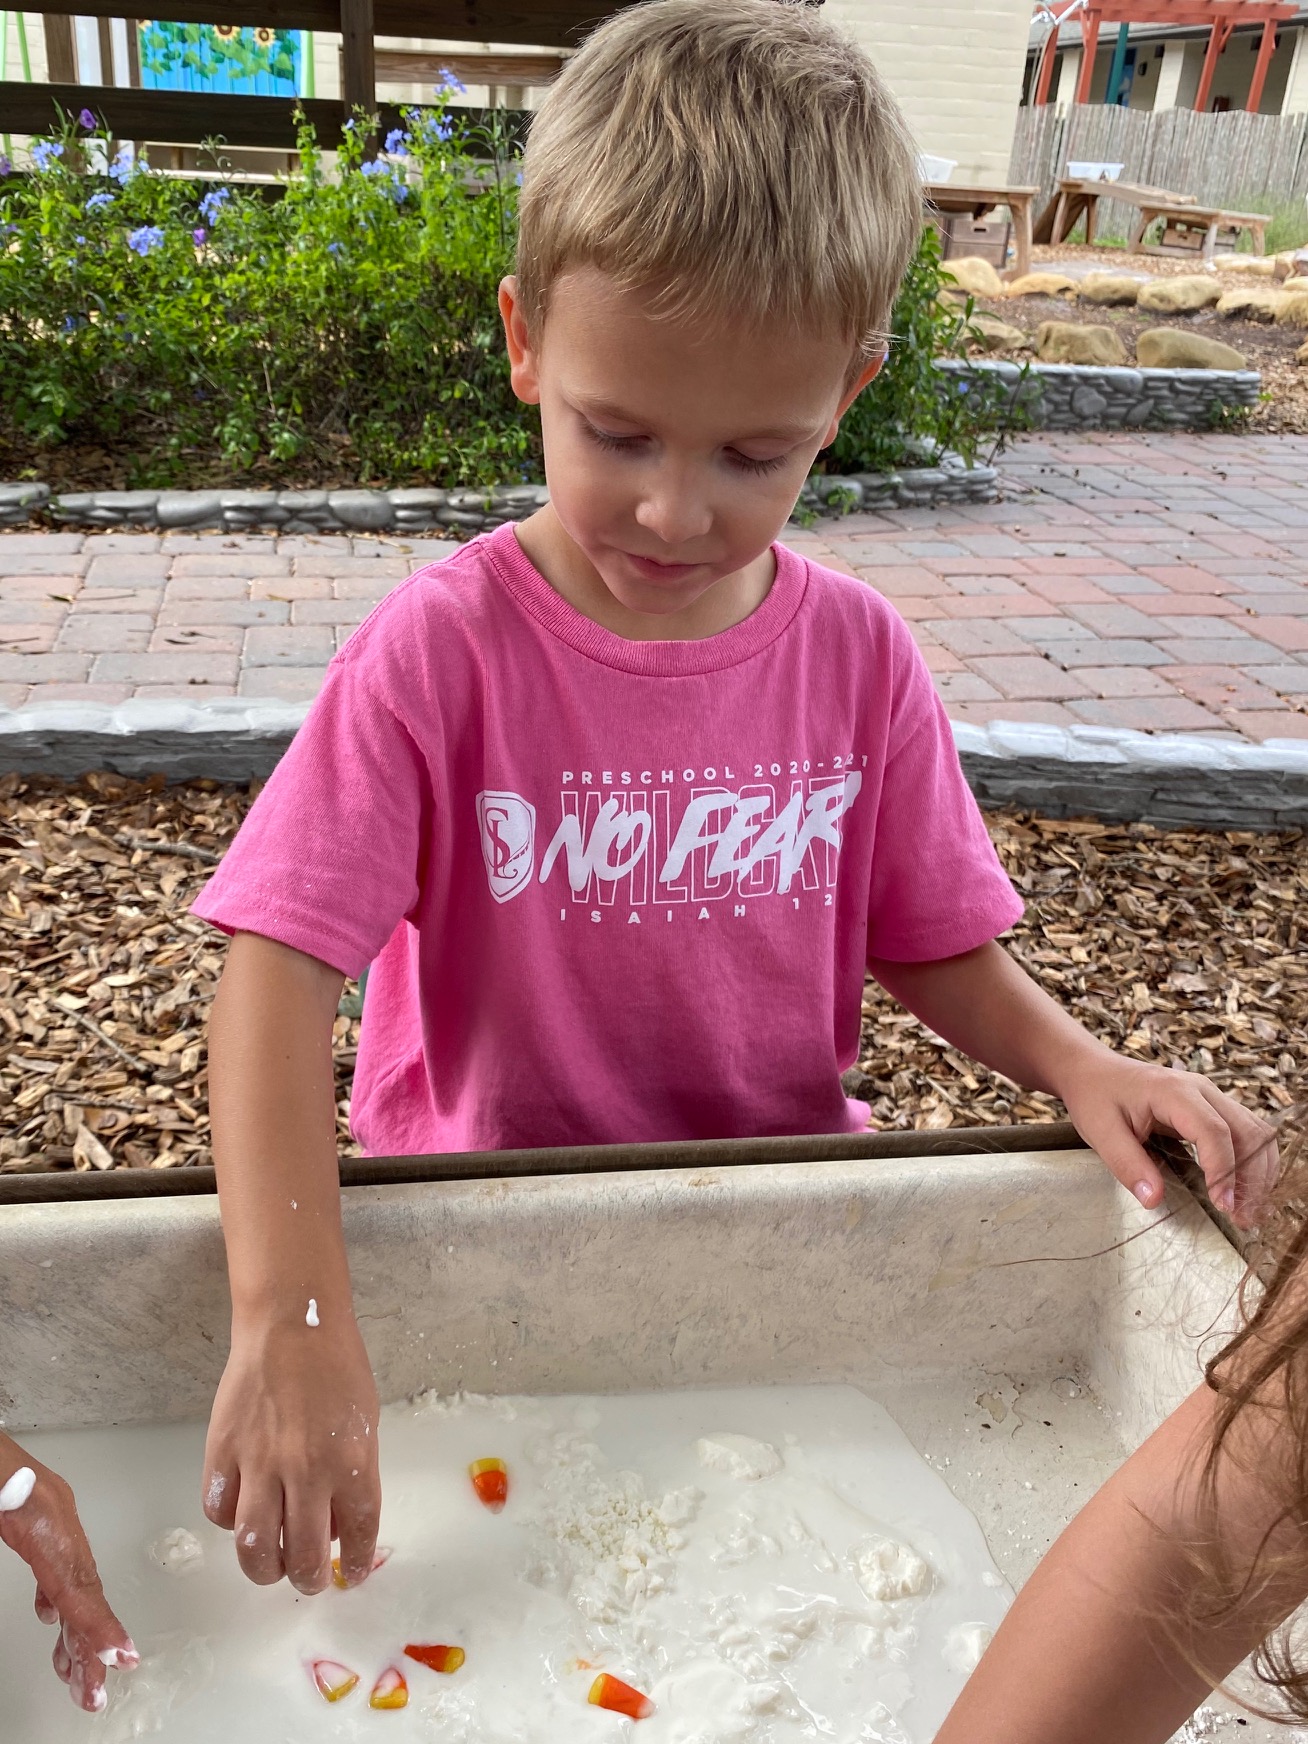
5. Candy Corn Oobleck – What a fun and messy way to use that leftover candy corn! First, grab a large bowl or container and add some corn starch to it. Next, add some water until the consistency is ooey gooey! (The scientific term for this is a non-newtonian fluid meaning that this doesn’t follow the laws of viscosity. It can feel like a solid and a liquid!) If the mixture is too thick, add more water. If it’s too watery, add more corn starch. Then add some candy corn! Let you kiddos get messy with feeling the texture of the oobleck and observe what happens to the candy corn. Does it change colors? Does it dissolve?
6. Candy Corn Structures – This is a great STEAM activity that will get those creative juices flowing! Grab some candy corn and toothpicks and let your child build whatever their heart desires! This is a great fine motor activity as well as working on a child’s problem solving skills and patience. Putting the candy corn and toothpicks together can be a little bit of a challenge, but the end results are well worth it! (If you have smaller kiddos, gum drops or marshmallows will work and are easier to work with.)
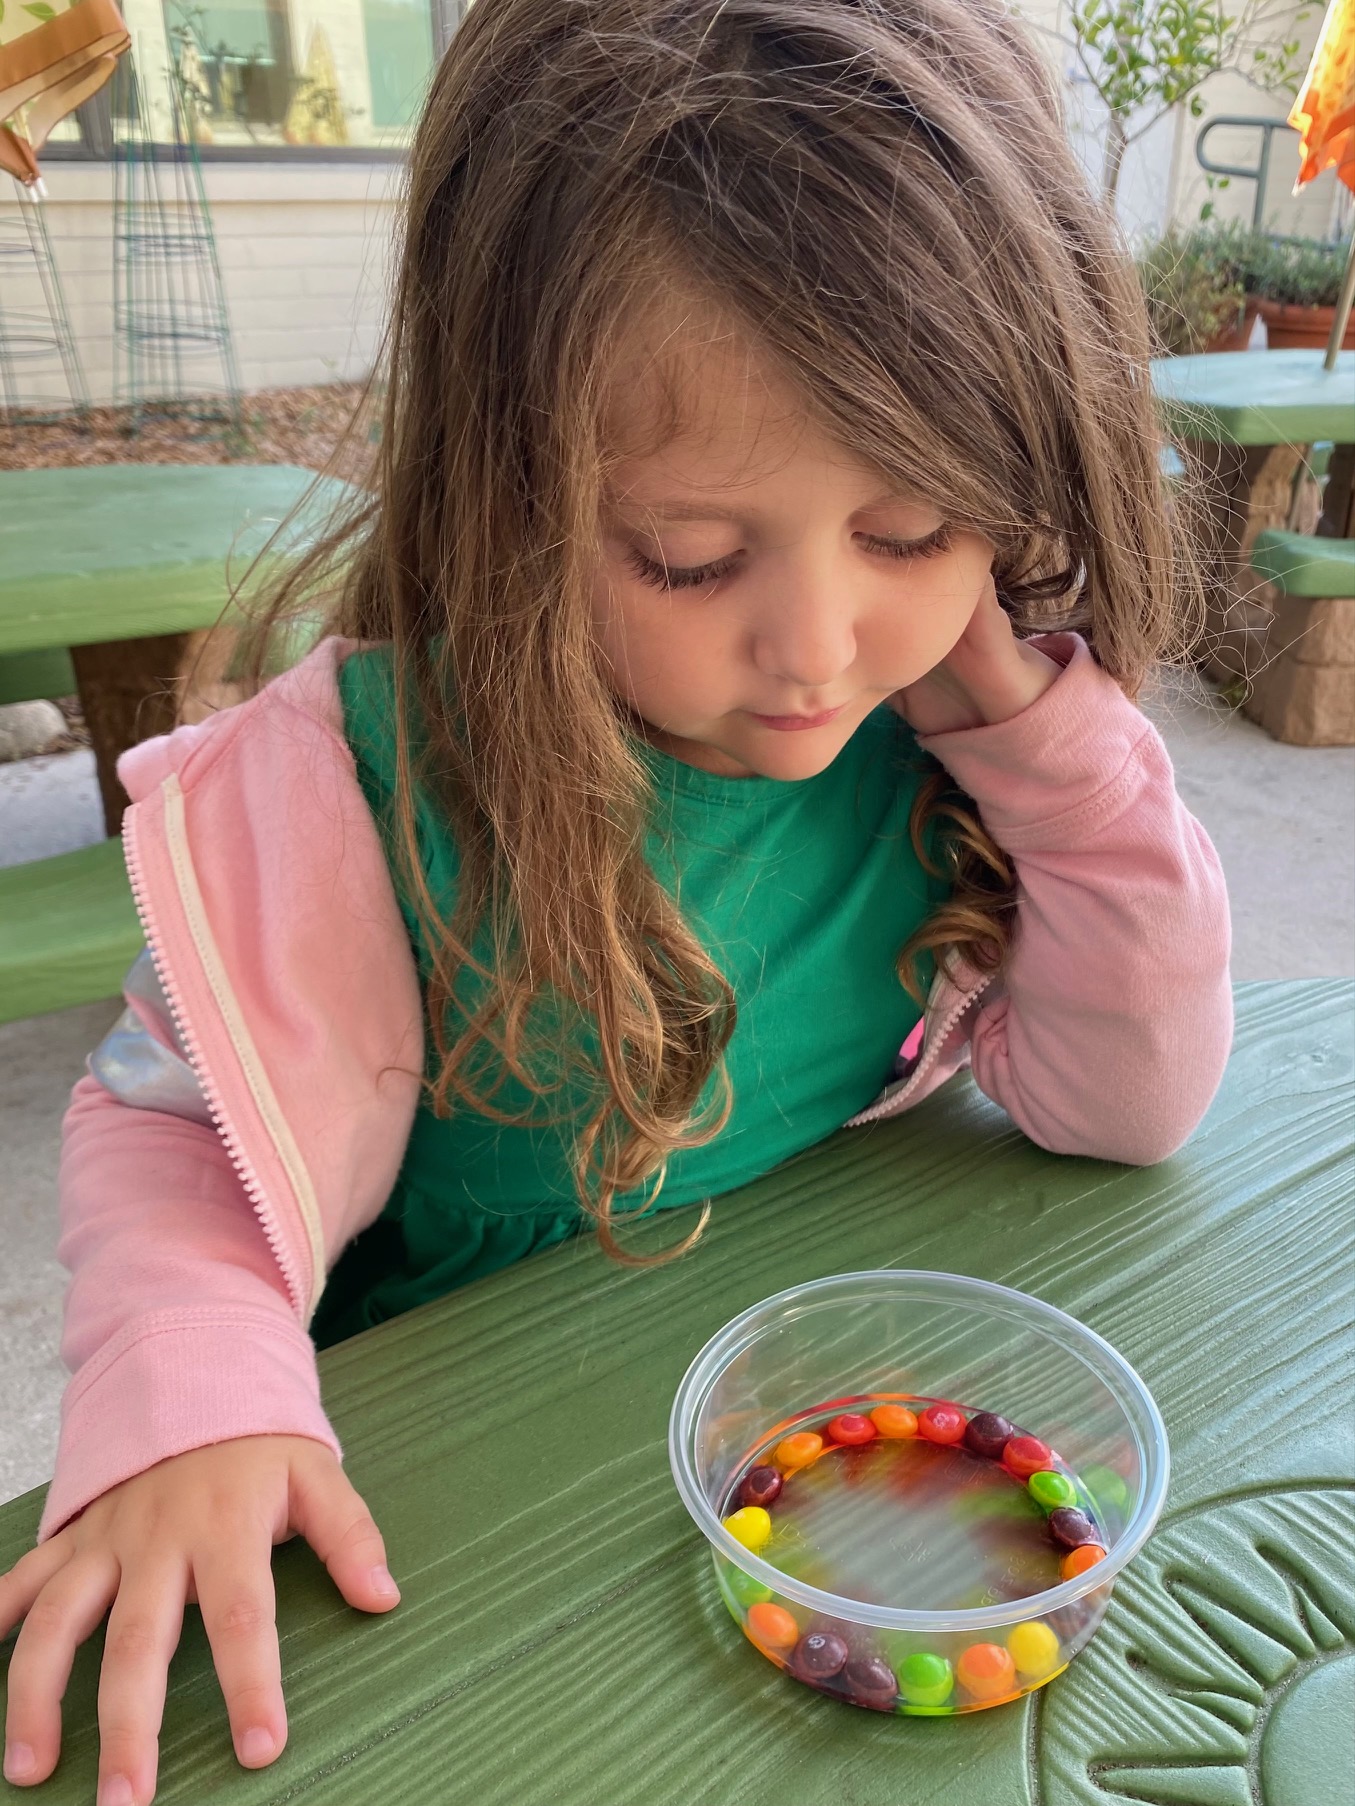
7. Candy & Water Experiments – Do you have some leftover Skittles or Gummy Bears lying around? If so, these experiments are for you! (If not, these are very easily found at the store and are such fun experiments for your kiddos!) First, grab a pack of skittles, a bowl or round tin and have your child line the perimeter of the container with the skittles. Next, slowly add water just to cover the skittles and watch what happens. You should slowly start to see the colors from the skittles dissolve into the water, creating a rainbow! This is a great way to discuss how sugar dissolves very easily in water as well as color mixing. The other experiment involves gummy bears and various water types. First grab a packet of gummy bears and 3 different cups of water: plain water, sugar water and salt water. Add your gummy bears to each cup and observe them throughout the day. I would put one or two gummy bears to the side to do a size comparison at the end of the experiment. (If you want to yield the best results, wait 24 hours before taking the gummy bears out of each of the cups.) What happened to each of your gummy bears? Did they dissolve? Did they grow or shrink in size? Make a chart to record your results!
8. Dissolving Candy Experiment – The goal of this experiment is to see which liquids dissolve candy the fastest. This can be done with whatever candies you have lying around the house. I’m sure you’ll have some to spare! First, grab 5 or so liquids to test. Some ideas are hot water, cold water, vegetable oil, vinegar, dish soap, etc. Next, grab the candy you want to test out and drop one in each of the cups of liquid. You can set a timer or just observe them over the course of the day. You can set this up with multiple types of candy and however many liquids you want to test. Then record your results! Which liquid dissolved the candy the fastest? The slowest? Did different candies have different results based on what liquids they were in? This experiment has endless possibilities and it’s a fun and educational way to use that Halloween candy!